
FINX
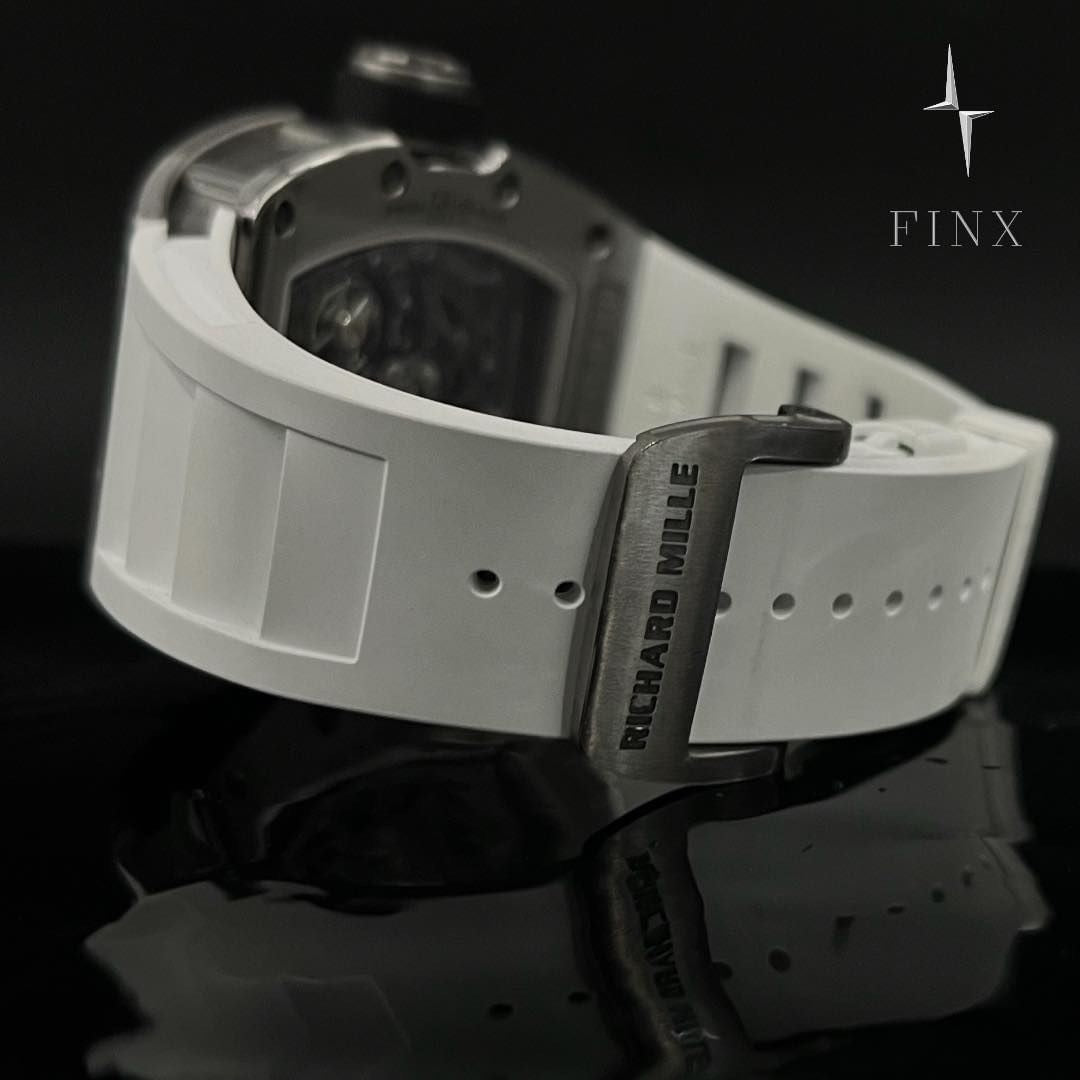
リシャール・ミル RM030 保護キット
受取状況を読み込めませんでした
• FINXの超透明時計保護フィルムでRichard Mille RM030を保護しましょう。
FINXの光学透明保護フィルムは、Richard Mille RM030専用に精密カットされています。このフィルムは、ケース、ベゼル、表面を傷、指紋、日常の摩耗から保護しながら、時計本来の高級感を維持します。
主な機能
• 超透明光学保護フィルム
• RM030専用精密カットデザイン
• 自己修復表面が軽い傷を軽減
• 元の仕上げとコレクター価値を維持
この保護フィルムキットは、Richard Mille RM030専用に設計されています。
利用可能なオプション
• 光沢フィルム
• マットフィルム
FINX時計保護フィルムを使用すると、Richard Milleを毎日着用しながら、優れた状態に保つことができます。
FAQ
How do I know if this protection film fits my watch?
Each FINX protection film is precision-cut specifically for the exact watch reference and dimensions.
Is the film suitable for daily wear?
Yes. FINX protection film is designed for daily wear and helps reduce hairline scratches from normal usage.
Can the protection film be removed safely?
Yes. The film can be safely removed without leaving residue or damaging the original watch surface.
Will the protection film affect the original look of the watch?
FINX Optical Transparent Film is engineered to remain nearly invisible while preserving the original finishing and appearance of the watch.
Share

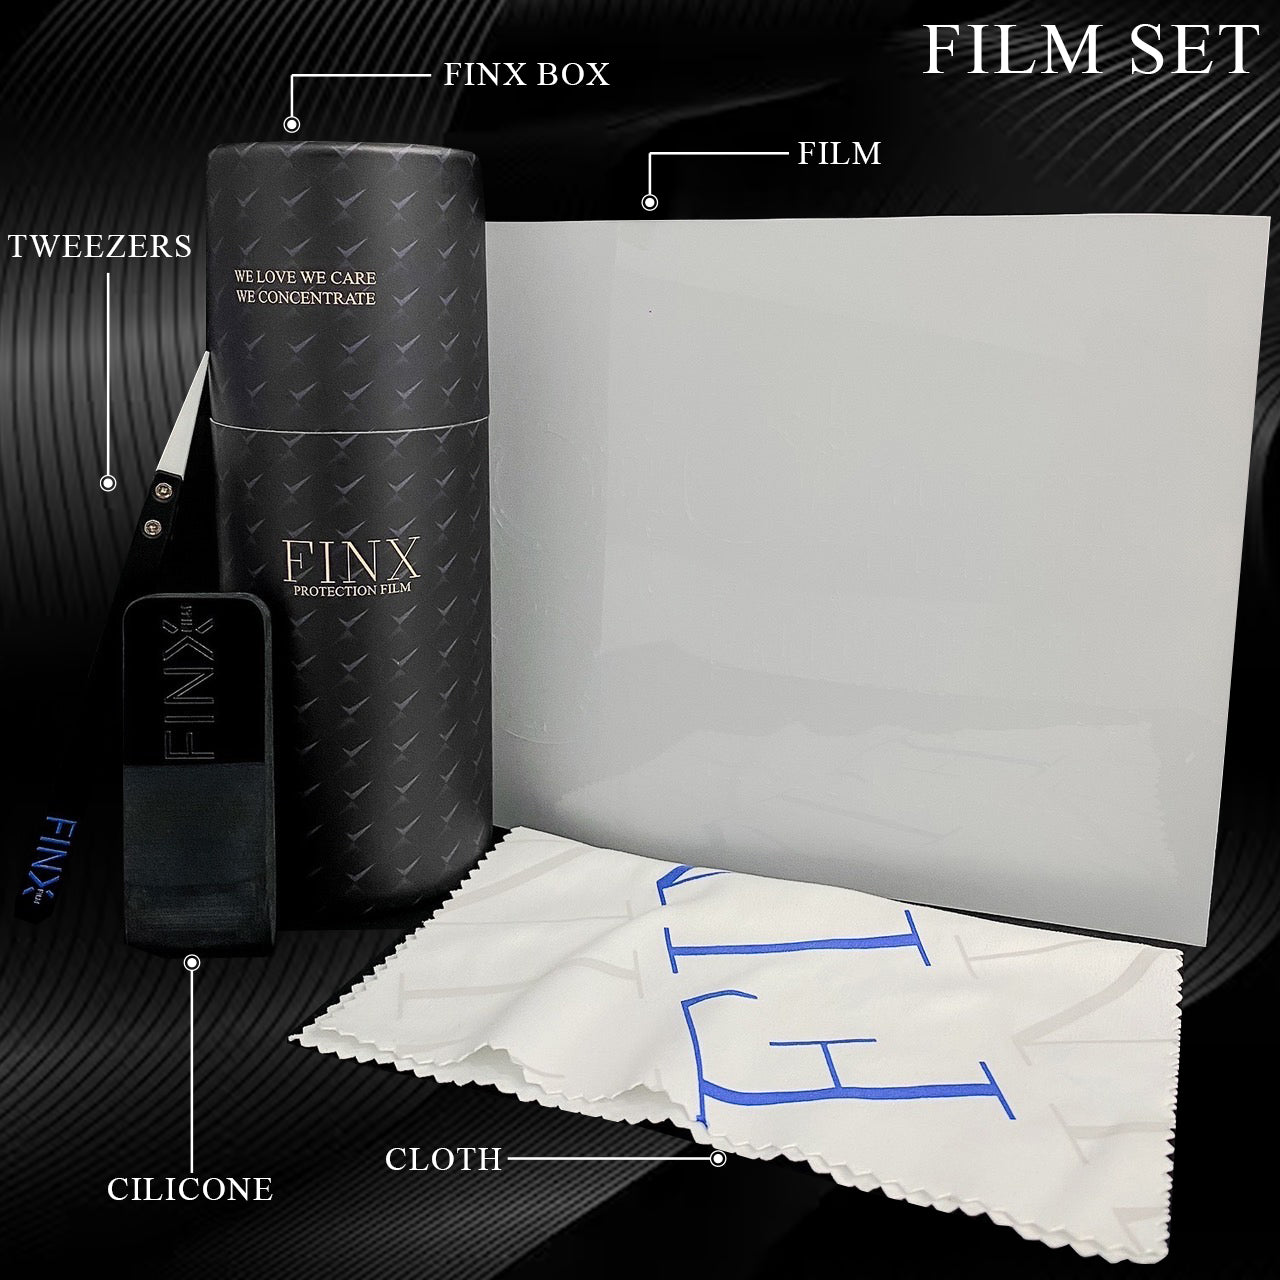
FINX Protection Film Set
Each FINX Protection Film Set includes everything required for precise installation and long-term protection.
Inside the FINX box:
• Precision-cut FINX protection film
• Professional installation tweezers
• Silicone application tool
• Premium microfiber cloth

FINX Protection Film
• Residue-free removal
• Anti-yellowing optical film
• Watch-specific TPU material developed in-house
• Precision-cut using real watch measurements
• Invisible fit with original finishing preserved
• Professional installation tools included
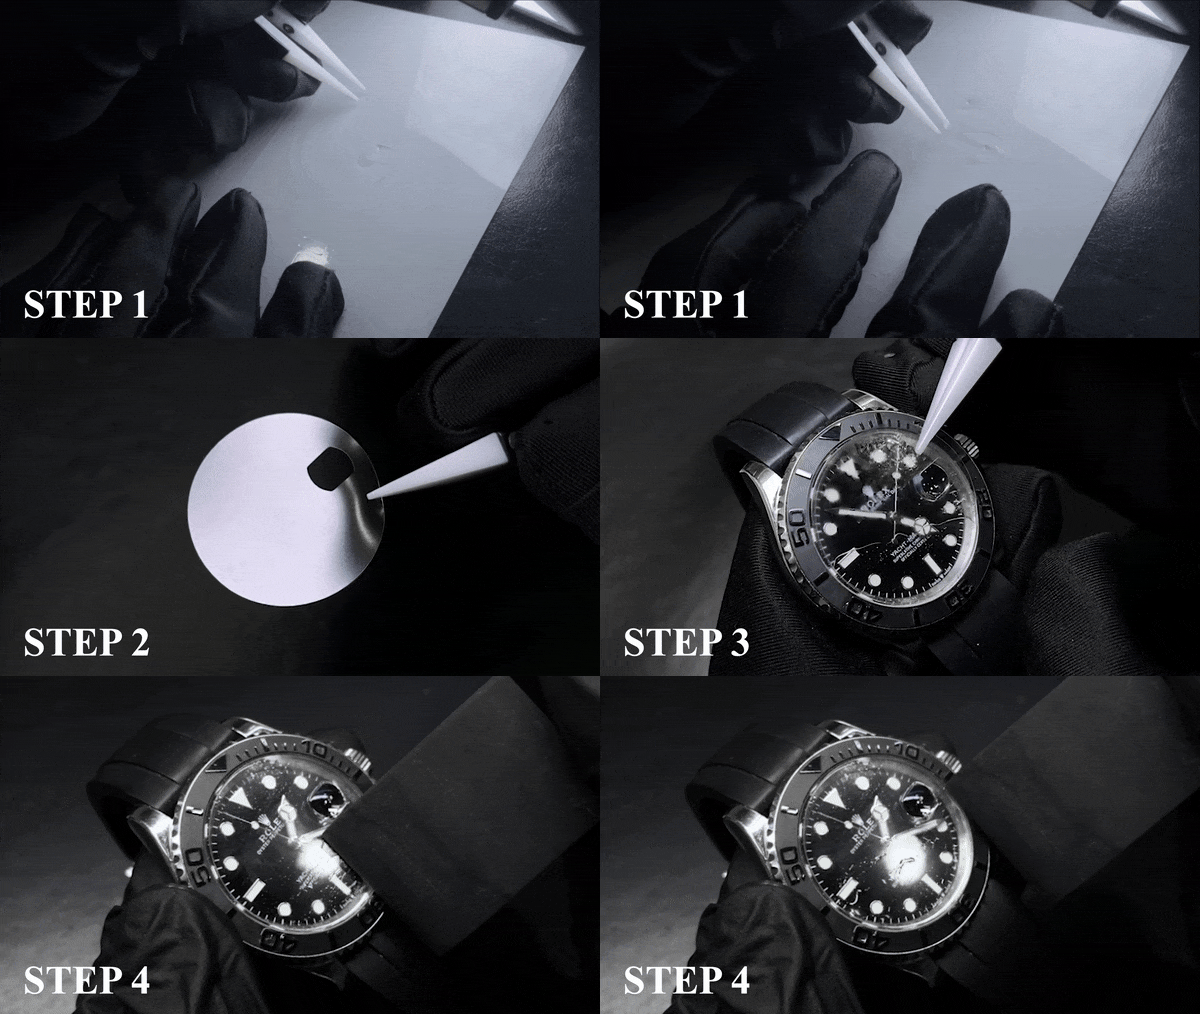
FINX Installation Guide
STEP 1
Using the included precision tweezers, carefully remove the film from the backing layer.
STEP 2
Lightly spray water onto the adhesive side of the film before positioning it onto the corresponding watch surface.
STEP 3
Align the film carefully and apply gentle pressure to secure the fit.
STEP 4
Use the silicone application tool to remove excess water and air bubbles.
