


FINX Protection Film Set
Each FINX Protection Film Set includes everything required for precise installation and long-term protection.
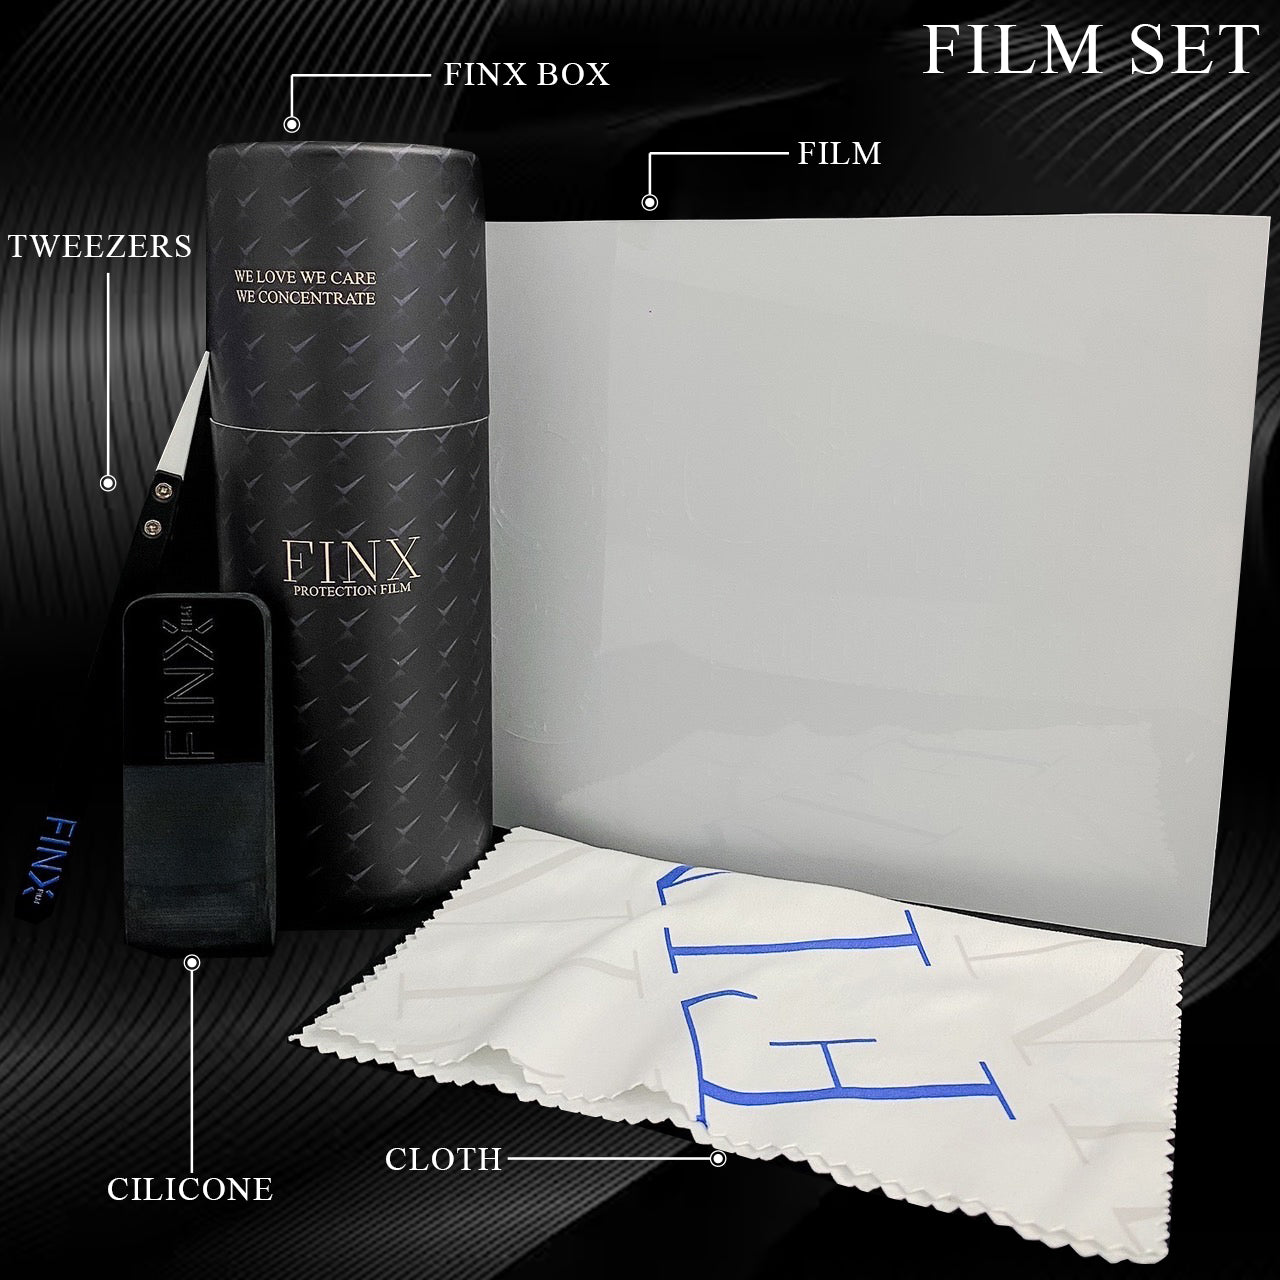
Inside the FINX box:
• Precision-cut FINX protection film
• Professional installation tweezers
• Silicone application tool
• Premium microfiber cloth

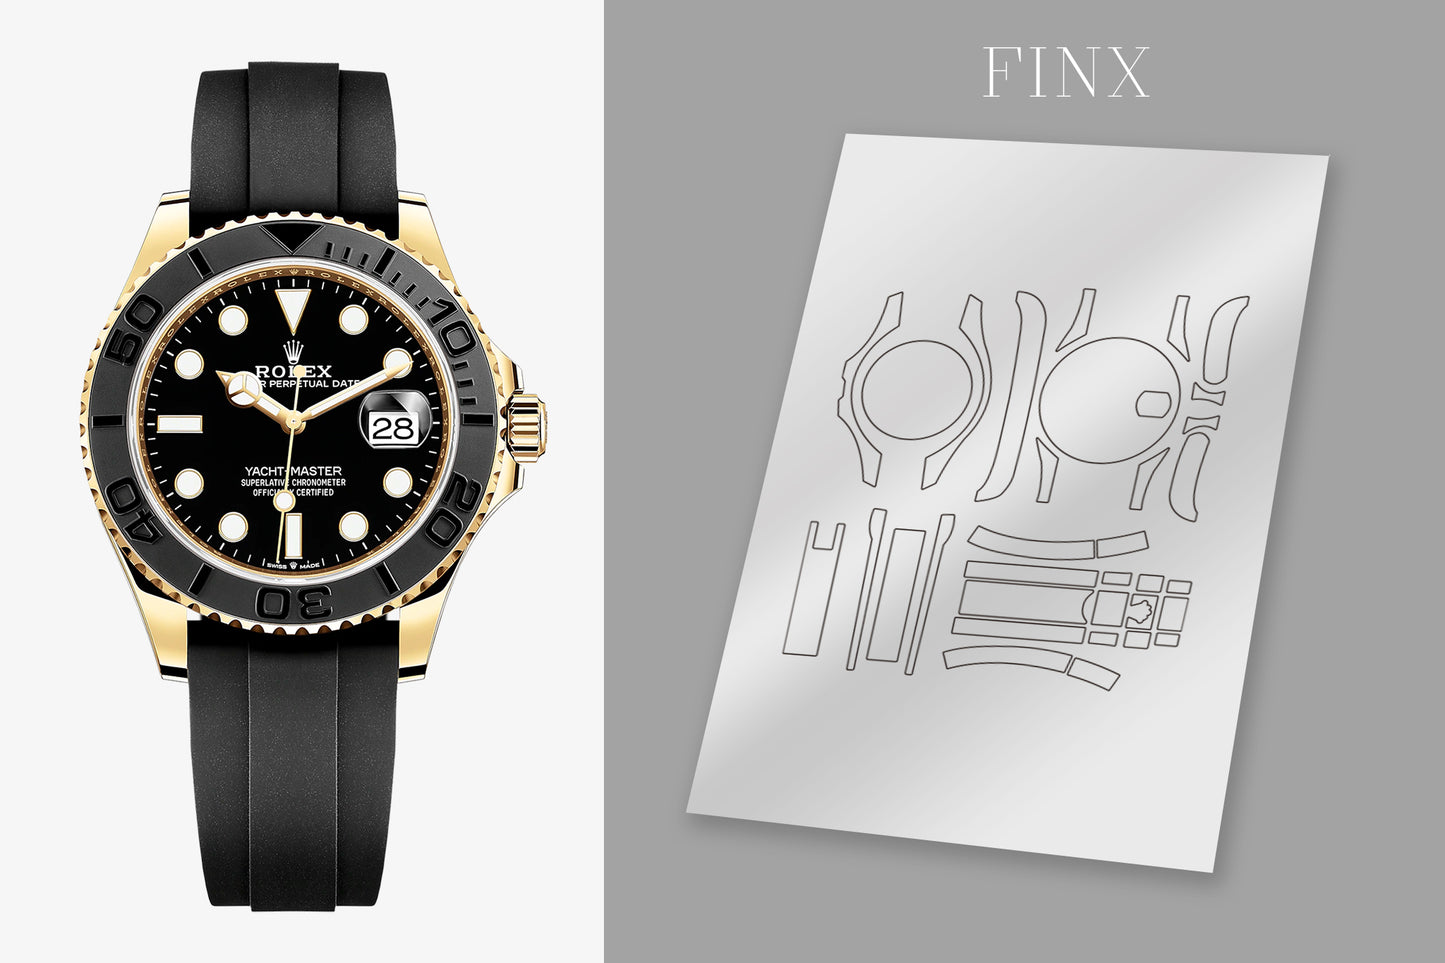
FINX Protection Film
• Residue-free removal
• Anti-yellowing optical film
• Watch-specific TPU material developed in-house
• Precision-cut using real watch measurements
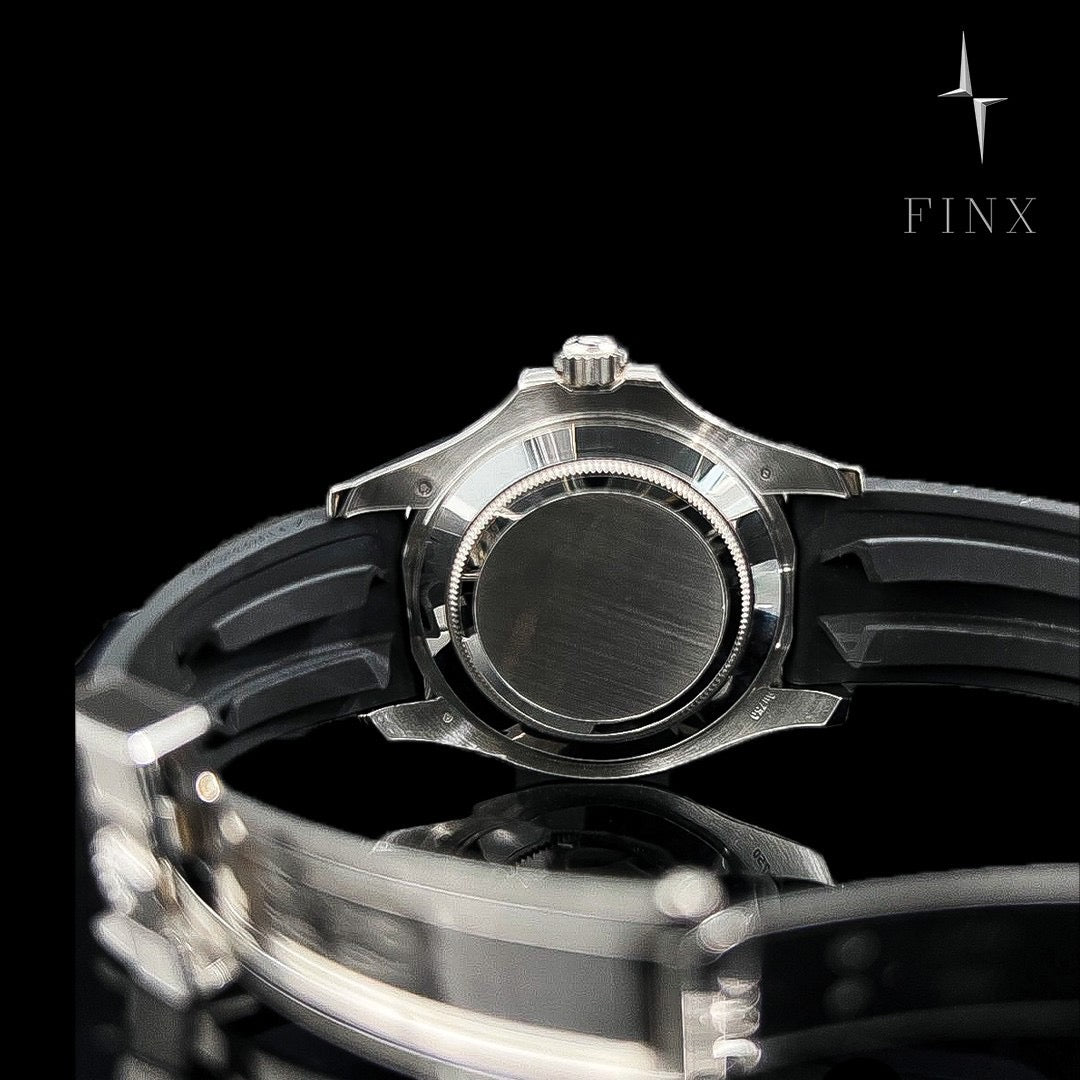
• Invisible fit with original finishing preserved
• Professional installation tools included
FINX Installation Guide
STEP 1
Using the included precision tweezers, carefully remove the film from the backing layer.
STEP 2
Lightly spray water onto the adhesive side of the film before positioning it onto the corresponding watch surface.
STEP 3
Align the film carefully and apply gentle pressure to secure the fit.
STEP 4
Use the silicone application tool to remove excess water and air bubbles.